
Three National Park Outfit Ideas You Can Copy Today
By Bobby Harris — Navy FMF Corpsman (2002–2010), founder of First Rise Outfitters
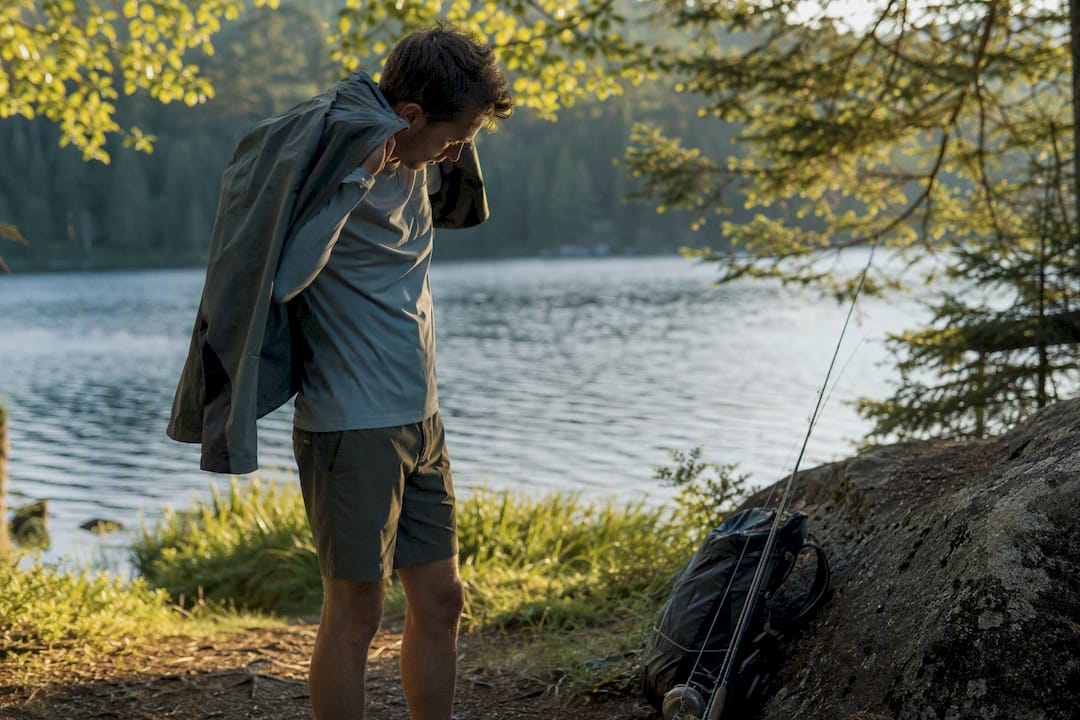
Three outfits handle almost every national park day: a casual trail look (moisture-wicking tee, hiking pants, trail runners), a sunrise layering system (base layer, fleece, packable shell), and a scenic-drive-and-lodge outfit (relaxed tee, comfortable pants, warm layer for the parking lot wind). The one rule that overrides everything else: skip cotton, since it holds moisture and chills you fast once you sweat or catch a mist. Pack sun protection no matter which outfit you pick. A garment-dyed graphic tee works well for the casual and lodge looks, since the muted tones and soft feel read as everyday wear, not gear.
- Casual trail outfit: synthetic or merino tee, stretch hiking pants, trail runners.
- Sunrise layering outfit: base layer, fleece midlayer, packable rain shell.
- Scenic-drive/lodge outfit: relaxed tee, comfortable pants, light puffy jacket.
Key Takeaways
A national park outfit works when it follows the three-layer system, skips cotton entirely, and matches footwear and sun protection to the day’s actual activity level.
| Point | Details |
|---|---|
| Use three outfit formulas | Casual trail, sunrise layering, and scenic-drive/lodge cover nearly every park day. |
| Never wear cotton next to skin | Cotton retains moisture and raises hypothermia risk once you sweat or hit rain. |
| Dress for the coldest hour | Plan clothing around sunrise temperature, not the daytime forecast high. |
| Choose trail runners for most hikes | Reserve heavy boots for technical terrain, snow, or heavy packs. |
| Pack sun protection every time | A wide-brim hat, sunglasses, and sunscreen belong in every outfit, even on cool days. |
| Pick style-forward pieces | A garment-dyed Firstriseoutfitters tee fits casual, lodge, and photo-focused looks without looking like technical gear. |
Table of Contents
- National Park Outfit Ideas for Every Activity and Condition
- Layering and Fabrics: What to Wear Under, In Between, and On Top
- Footwear and Socks: Trail Runners, Boots, or Sneakers?
- Sun Protection and the Small Accessories That Actually Matter
- Three Packing Checklists You Can Screenshot
- Why a Garment-Dyed Tee Fits This Whole System
- Dressing for the Trail Without Looking Like You’re Auditioning for a Gear Catalog
- Matching Your Outfit to How Hard You’re Actually Working
- What Actually Separates a Good Park Outfit From a Great One
- Try a Garment-Dyed Tee for Your Next Park Day
- Sources
National Park Outfit Ideas for Every Activity and Condition
Picking an outfit by activity, not by which park you’re visiting, saves you from overpacking and second-guessing at the trailhead. Here are the combinations that come up again and again.
- Desert or high-sun days. Lightweight UPF long sleeve, breathable pants, wide-brim hat, and trail runners. Skip dark colors that trap heat.
- Alpine or cold-morning hikes. Merino base layer, fleece midlayer, packable shell, and insulated gloves for the first hour before the sun clears the ridge.
- Coastal or misty trails. Synthetic base layer under a waterproof shell; cotton here turns into a cold, clingy problem within minutes.
- Paved viewpoints and overlooks. Comfortable sneakers, a soft graphic tee, and a light jacket. No technical gear required.
- Long day hikes. Moisture-wicking shirt, convertible pants, trail runners, and two extra pairs of socks stashed in your pack.
- Sunrise or stargazing outings. Full three-layer system plus a headlamp. Temperatures at dawn often run 15 to 20 degrees colder than midday.
- Scenic drives and lodge stops. Relaxed-fit tee, jeans or joggers, and a warm layer for wind gusts at pullouts.
- Rain-prone days. Waterproof shell over a synthetic base, quick-dry pants, and waterproof or water-resistant footwear.
- Family outings with kids. Durable, easy-wash synthetic layers for adults; extra socks and a spare shell for everyone, since kids run hotter and colder than expected.
- Photography-focused trips. Neutral, muted colors that don’t distract from landscape shots, paired with a packable layer for waiting around at golden hour.
A garment-dyed tee fits naturally into the paved-viewpoint, lodge, and photography looks, where you want something that photographs well and doesn’t scream “technical gear.” For summer heat specifically, a dedicated hot-weather layering guide walks through breathable fabric choices in more depth.
Layering and Fabrics: What to Wear Under, In Between, and On Top
Base, mid, and shell. That’s the whole system, and it works whether you’re at 9,000 feet or strolling a boardwalk trail at sea level. The National Park Service’s wilderness travel guidance is blunt about the biggest mistake people make: wearing cotton. Wet cotton holds moisture against your skin and pulls heat away from your body, which raises your hypothermia risk even on a mild day.
Each layer has one job:
- Base layer: manages moisture. Merino wool resists odor over multi-day trips; synthetic blends dry faster and cost less.
- Midlayer: traps warmth. A fleece or lightweight puffy jacket compresses small and adds heat without bulk.
- Shell: blocks wind and rain. A packable waterproof jacket that fits in a daypack pocket is worth more than a heavier “just in case” coat you leave in the car.
Condé Nast Traveler’s park outfit guidance makes a point worth repeating: dress for the coldest hour you expect to be outside, not the forecasted high. A 75-degree afternoon can start with a 40-degree sunrise.
Pro Tip: Check the sunrise temperature, not just the daytime forecast, before you pack. If you’re out before 8 a.m., that number matters more than anything else on the app.
Footwear and Socks: Trail Runners, Boots, or Sneakers?
Trail runners or sturdy sneakers handle most day hikes better than boots do. Footwear experts point out that lighter shoes reduce fatigue over distance, and most park trails don’t demand the ankle support or stiff sole that boots provide. Save boots for scrambles, loose scree, deep mud, or multi-day trips with a heavy pack.
Socks matter more than most people budget for. Merino or synthetic hiking socks manage moisture far better than cotton athletic socks, which bunch up wet and cause blisters.
- Choose trail runners for maintained trails and moderate mileage.
- Choose boots for technical terrain, snow, or loads over 20 pounds.
- Fit socks so the heel locks in place and toes have room to splay.
- Waterproof footwear helps in consistent wet conditions, but it traps heat and sweat on dry, hot trails.
Sun Protection and the Small Accessories That Actually Matter
Sun protection belongs on every packing list, not just the desert ones. NPS guidance on essential trip gear lists a hat, sunglasses, and sunscreen among the core items every visitor should carry, and UV exposure climbs fast at elevation even when the air feels cool.
UPF-rated clothing earns its keep in desert and high-altitude parks, where thinner air lets more UV through. A wide-brim hat outperforms a baseball cap for extended exposure, since it shades your ears and neck too.
- Wide-brim hat or UPF cap, plus polarized sunglasses.
- Reef-safe sunscreen, reapplied every two hours in direct sun.
- Headlamp, in case a short hike runs into dusk.
- Extra socks and a packable microfiber towel for stream crossings or sudden rain.
Peak UV hours generally run from mid-morning through mid-afternoon, which is exactly when most people are out on exposed viewpoints and switchbacks.
Three Packing Checklists You Can Screenshot
Match your list to your plan instead of guessing. Travel guides that build checklists around activity type rather than destination tend to prevent overpacking better than generic park lists.
Short walk or visitor center stop:
- Comfortable sneakers, casual tee, light jacket, sunglasses, water bottle, sunscreen.
Full-day hike:
- Base layer, midlayer, packable shell, trail runners, merino socks (plus a spare pair), sun hat, 2+ liters of water, snacks.
Sunrise or sunset outing:
- Full three-layer system, headlamp, warm hat, gloves, hot drink in a thermos, camera or phone fully charged.
Why a Garment-Dyed Tee Fits This Whole System
The look that works on the trail and back at the lodge starts with a shirt, not a shell. That’s where a soft, well-fitted tee earns its spot in every outfit formula above, rather than sitting unworn in a suitcase.
- Bobby and the Firstriseoutfitters team build outfit guidance around what actually gets worn on early starts, not gear that looks good in a catalog.
- Garment-dyed Comfort Colors tees hold up to sweat and sun without looking technical or over-branded.
- Hand-designed trout artwork in muted, river-inspired tones photographs well against rock, water, and pine, without competing with the landscape.
- No loud logos means the same tee works at a trailhead, a diner, and a lodge porch.
Dressing for the Trail Without Looking Like You’re Auditioning for a Gear Catalog
Function and style aren’t actually in tension on most park trails, they just get treated that way. A tech-fabric zip-off pant and a synthetic tee handle the miles fine, but they don’t have to look like a costume. Muted colors, a relaxed cut, and simple graphics do the same job as flashy performance branding while photographing better against red rock or pine forest.
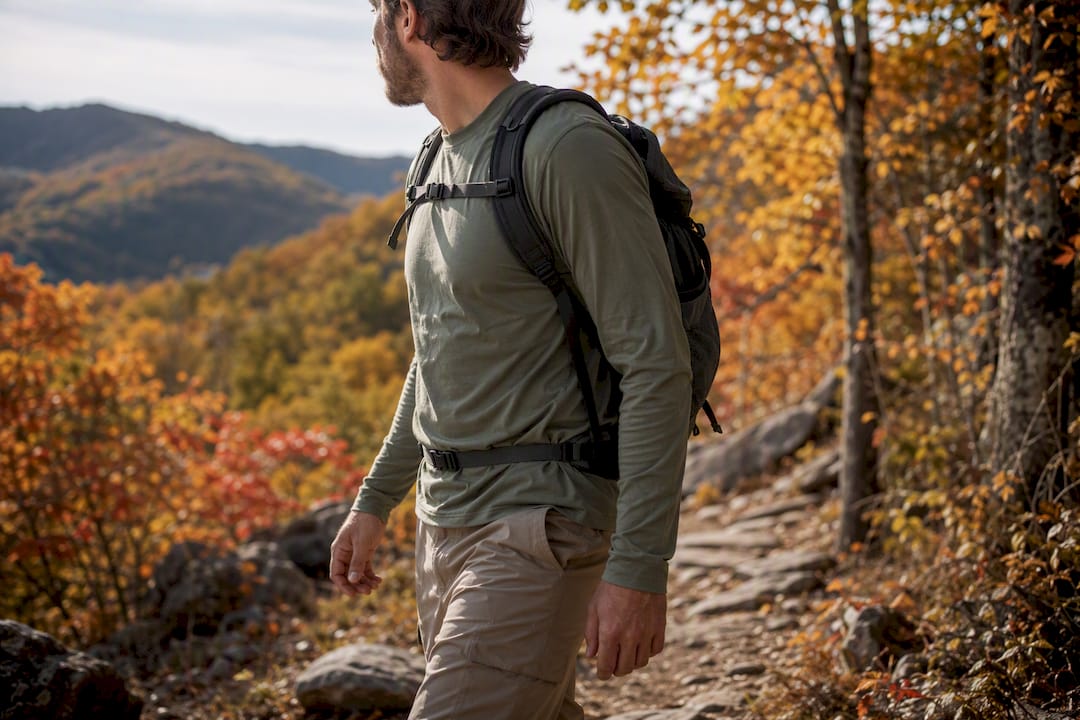
The mistake people make is over-optimizing for a hike they’re not actually doing. Most day-trippers walk two to five miles on maintained trails, stop for photos every quarter mile, and eat lunch at an overlook. That’s not an expedition. It calls for clothes that move well, dry fast, and still look like something you’d wear to lunch afterward, not head-to-toe technical wear built for an alpine ascent.
Fit matters here more than fabric weight. A tee that’s slightly relaxed through the shoulders won’t ride up when you raise your arms for a photo. Pants with some stretch through the knee handle both a scramble over rocks and a casual stroll to the visitor center without changing. Neutral, nature-toned colors (moss, rust, faded denim) blend into photos instead of blowing out against a bright sky, which is why so many outdoor editorial shoots lean muted rather than neon.
The goal is one outfit that survives the whole day: trailhead, overlook, lunch stop, and the drive home.
Matching Your Outfit to How Hard You’re Actually Working
A casual boardwalk stroll and a six-mile climb to a waterfall call for different clothes, even inside the same park on the same day. The mistake is dressing for the hardest thing you might do instead of the thing you’re actually doing.
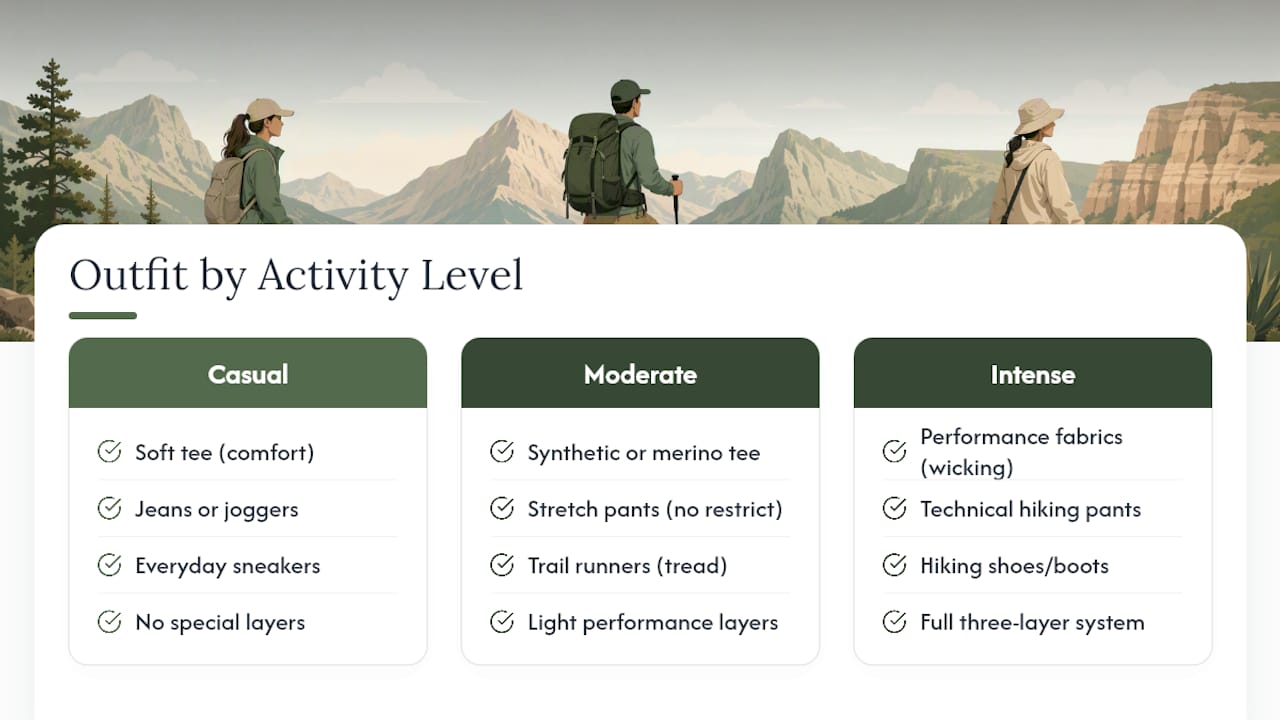
For a casual walk or visitor center loop, comfort wins over performance fabric. A soft tee, jeans or joggers, and everyday sneakers handle flat, short distances without any need for moisture management or specialized layering.
For a moderate hike of two to five miles, shift toward a synthetic or merino tee and stretch pants that won’t restrict your stride on inclines. Trail runners start to matter here, since sneakers without tread can slip on loose dirt or wet rock.
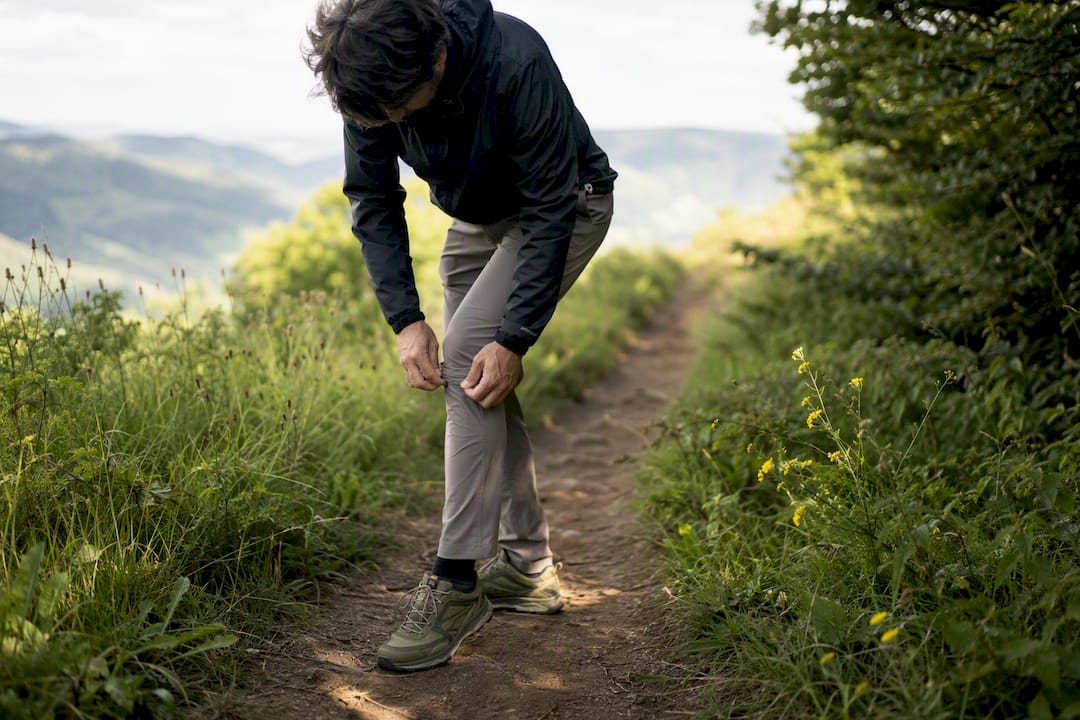
For an intense, multi-hour hike or a steep elevation gain, the full three-layer system comes into play, along with real attention to sock material and fit. This is also where sun protection accessories stop being optional, since you’re exposed for longer and working hard enough to sweat through fabric that doesn’t wick well.
The practical move is packing for your hardest planned activity and downgrading as the day allows, rather than the reverse. A packable shell and a spare tee cost you almost nothing in pack space, but they let you go from a casual overlook stop to an unplanned longer hike without turning back.
What Actually Separates a Good Park Outfit From a Great One
Most advice on this topic overcomplicates fabric choice and underexplains fit. People obsess over merino versus synthetic when the bigger failure point is usually socks that bunch, pants that ride up on a scramble, or a shell that’s too bulky to actually carry. Get fit right first. Fabric technology can’t fix a pack you leave in the car because the jacket felt like too much to carry.
The conventional wisdom also treats “national park clothing” as a separate category from normal clothing, which pushes people toward gear-shop aesthetics they don’t need for a five-mile trail.
If there’s one thing to prioritize first, it’s the coldest hour rule. Pack for sunrise temperatures, not the forecasted high, and let everything else follow from that single decision. It solves the layering question, the shell question, and half the “did I overpack” anxiety in one move.
Try a Garment-Dyed Tee for Your Next Park Day
A tee built specifically for early starts and long days outdoors beats a generic cotton souvenir shirt on every count that matters: it wicks moisture, holds its color through washes, and doesn’t wilt by noon. Firstriseoutfitters designs its shirts around that exact use case, with hand-drawn trout artwork on garment-dyed Comfort Colors blanks in tones that match a trailhead better than a gift-shop rack does.
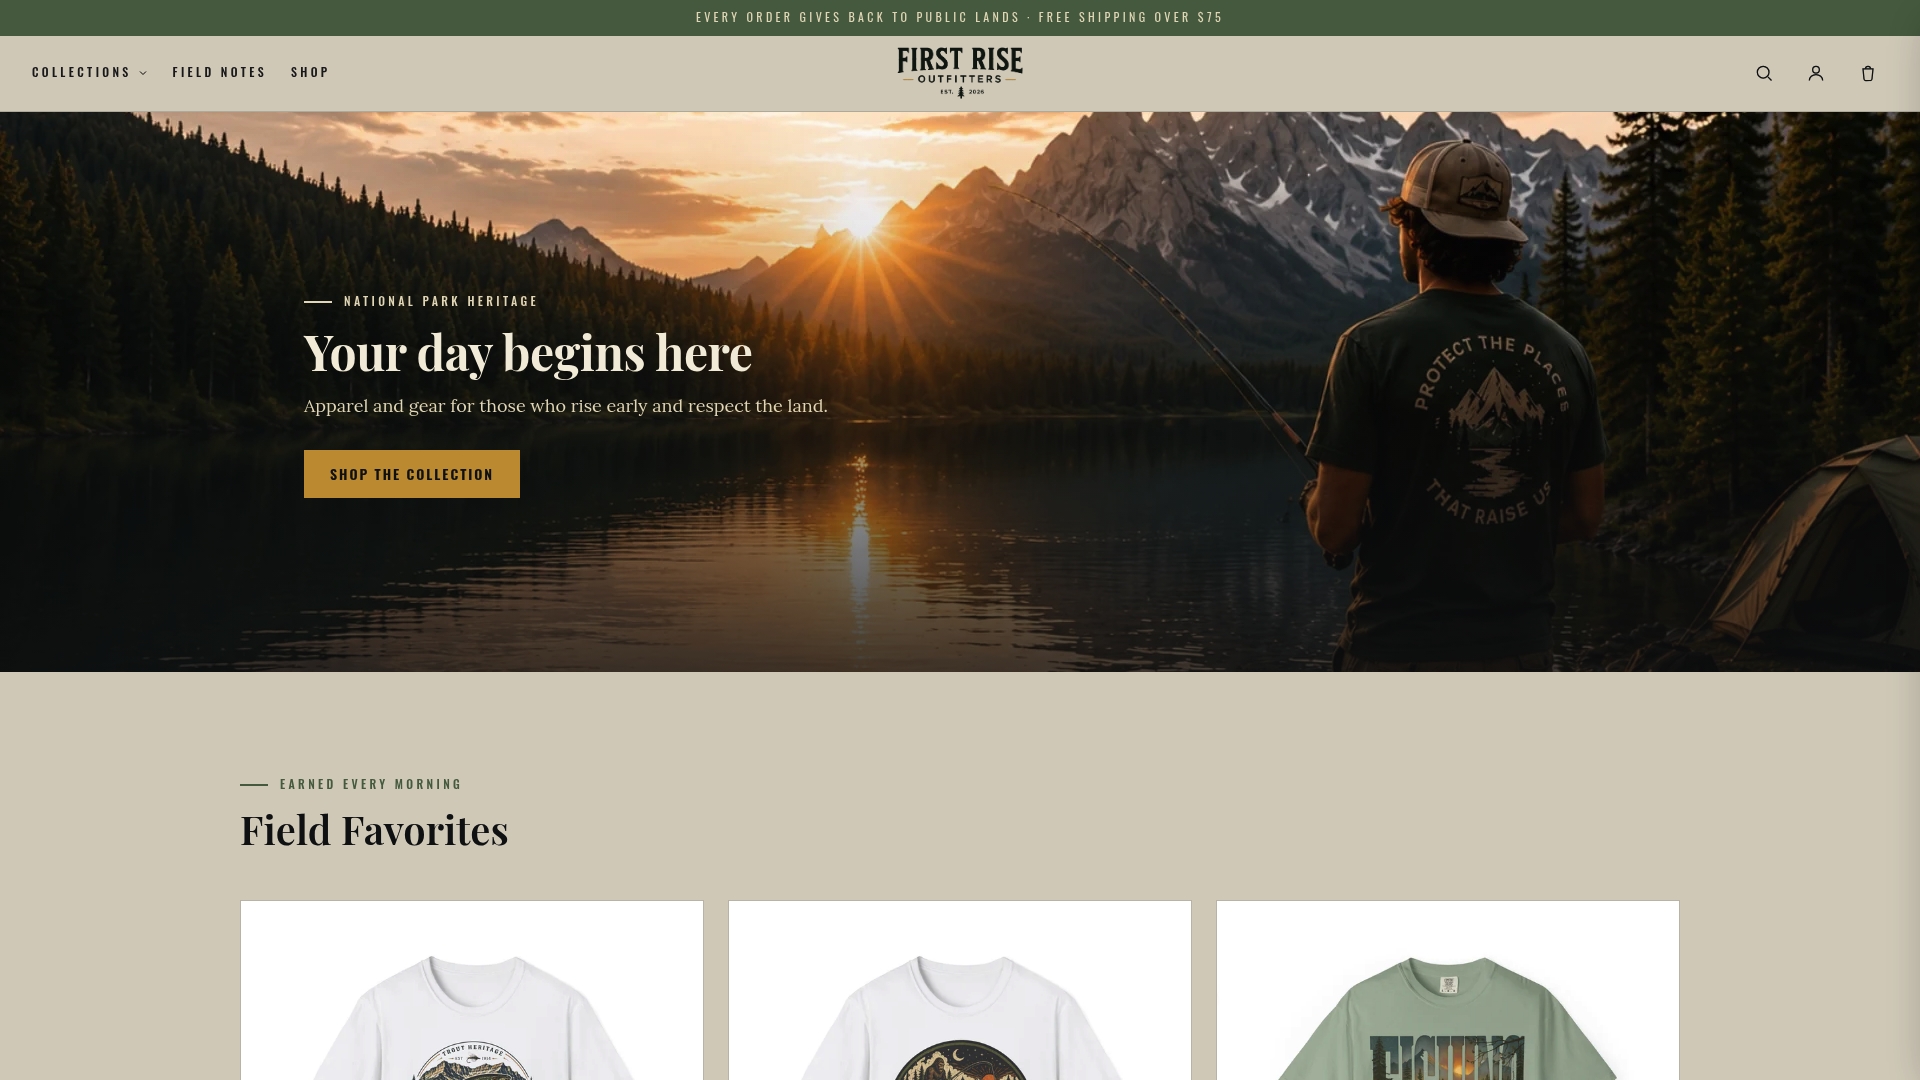
The National Parks fishing tee fits directly into the casual-trail and lodge outfit formulas covered above: it’s soft enough for a long drive, tough enough for a dusty overlook, and styled to photograph well against a mountain backdrop instead of competing with it. If you want the sun-protection side handled too, pieces like the ones covered in Miami Beach Bum’s sun-protection guide pair well alongside a graphic tee for full-day exposure. Pick your tee, check the sunrise temperature, and build the rest of your outfit around it.
Sources
- Wilderness travel basics — National Park Service
- What to wear to a national park — Condé Nast Traveler
- What to wear when hiking — Erik Guay